推荐内容
怎么用Connectify让笔记本充当WIFI无线路由器共享上网
2012-11-26 来源:本站整理 作者:U盘量产网 浏览量:4372次
软件介绍:
Connectify是一款非常实用的软件,它可以把笔记本电脑模拟成一台无线路由器,让WIFI手机或者别的笔记本能共享上网,目前支持Windows 7、Vista和XP系统。 使用说明:
1. 笔记本必须拥有无线上网功能,也就是说你的笔记本要有无线网卡的硬件支持。
2. 新版的Connectify支持Windows 7、Vista和XP系统。
3. Connectify官方下载地址:http://www.upantool.com/qita/2012/2359.html
Connectify是一款非常实用的软件,它可以把笔记本电脑模拟成一台无线路由器,让WIFI手机或者别的笔记本能共享上网,目前支持Windows 7、Vista和XP系统。 使用说明:
1. 笔记本必须拥有无线上网功能,也就是说你的笔记本要有无线网卡的硬件支持。
2. 新版的Connectify支持Windows 7、Vista和XP系统。
3. Connectify官方下载地址:http://www.upantool.com/qita/2012/2359.html
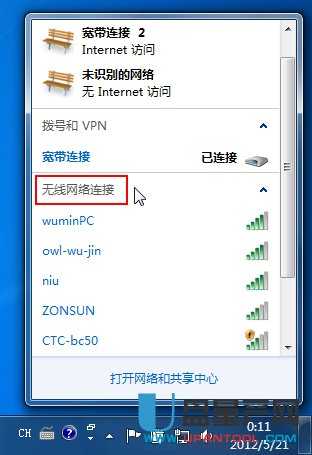
(1) 打开Connectify 一、 使用Connectify创建无线WIFI的前提是要打开笔记本电脑的无线网络功能。点击Windows7桌面右下角的“网络”图标,查看是否已经打开无线。

二、 如果没有打开无线网络,请先开启笔记本上的无线网络功能,(不同笔记本开启无线的快捷键不同)。
三、 开启无线功能之后,找到并双击Connectify快捷方式。

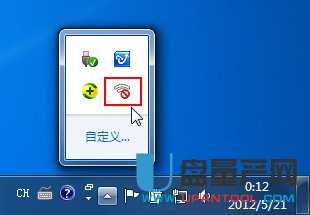
四、 这个时候可以在电脑右下角的系统托盘里看到Connectify图标,表示程序已经启动。
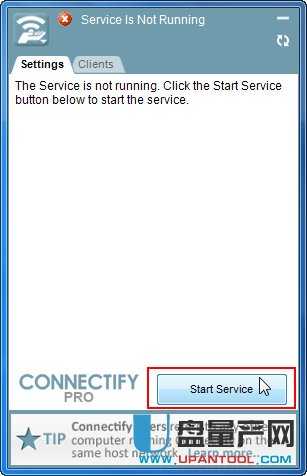
五、 点击系统托盘的Connectify图标,打开Connectify主面板,在标题栏会看到“Service Not Running”的提示,说明服务没有运行,点击面板右下角的“Start Service”按钮运行服务。
六、 在弹出的“Connecify Service Helper”窗口提示服务正在重启,请稍候。

七、 服务重启成功,点击“Close”按钮关闭窗口。

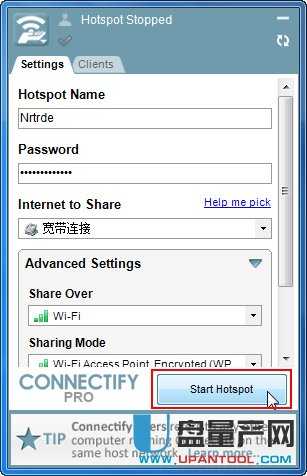
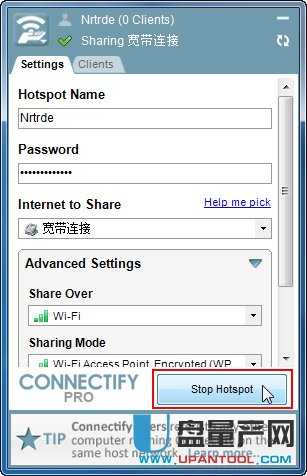
八、 接着在Connectify主面板输入Hotspot Name(热点名称)和Password(无线密码),在面板右下角单击“Start Hotspot”开启WIFI热点。
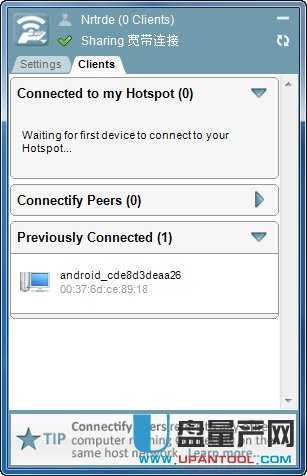
九、 WIFI创建成功,主面板转向“Clients”客户端选项卡,在这里可以看到客户端连接信息。
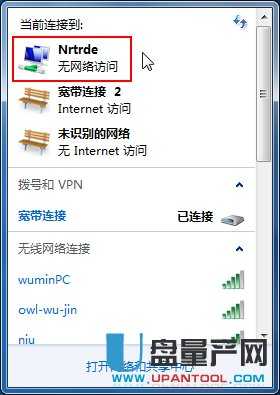
十、 这个时候点击Windows7桌面右下角的“网络”图标,可以看到一个名为“Nrtrde”的WIFI已经创建成功。(显示“无网络访问”是正常的)
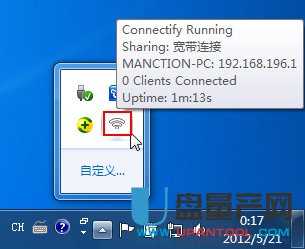
十一、 把鼠标移动到电脑右下角系统托盘里的Connectify图标上,可以看到WIFI热点的信息。
十二、 WIFI创建成功,打开手机或者其他笔记本上的WANL无线上网功能,连接“Nrtrde”即可上网。
(2) 关闭Connectify
(2) 关闭Connectify
一、 在手机或者其他笔记本上关闭WANL功能。
二、 打开Connectify主面板,选择“Settings”设置选项卡,点击右下角的“Stop Hotspot”按钮关闭WIFI热点。
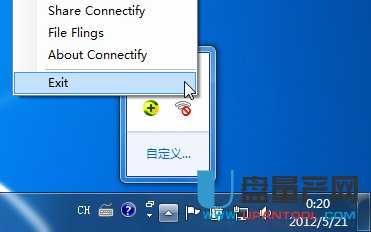
三、 在系统托盘上右击Connectify图标,在弹出的菜单上,点击“Exit”选项退出程序。

四、 使用快捷键或者其他方式关闭笔记本电脑的无线上网功能。
怎么用Connectify让笔记本充当WIFI无线路由器共享上网手机版:https://m.upantool.com/sense/2012/2360.html
相关软件
相关文章